Steps for carefree stitching.
What should you do when things go wrong with your sewing machine?
Is your machine skipping stitches, making thread nests, or generally behaving badly? If so, remember the BIG 3 to (try to) fix the problem.

When your sewing machine acts up, what can you do ON YOUR OWN to get it working again? Before throwing in the towel, check these three things – the needle, thread, and bobbin area. It’s probably not a serious problem, and something you can resolve by yourself. Better odds than Vegas, I guarantee.
Here’s what to check:
- Needle
- Thread
- Bobbin Area
As a sewing machine technician, these are the top three issues that I see causing problems with customers’ sewing machines.
Are you ready to get started? SAFETY FIRST – Turn off and unplug your machine.

Check Your Needle
Is it the right one for the fabric/project you’re working on? Have you changed it lately?
- There are special sewing machine needles that correspond with specific fabric type and general fabric weights. For example, you might experience skipped stitches when sewing on knit fabric if you’re not using a Ballpoint or Stretch needle. You can find out more on this Core Fabrics post.
- You should change your needle about every 8 hours, so if you haven’t recently, do that.
- And with this first step, you’ll want to remove the sewing machine needle and presser foot temporarily so you can tackle the next two – thread and bobbin area.
Use Good Thread
If your machine is running fine, then you might not need to worry about it, but if it’s giving you trouble, and that’s why you’re here, then read on.
Good thread doesn’t have to be super expensive, but you might skip the Coats & Clark or mystery thread from grandma’s attic if your machine has thread problems. Personally, I prefer Aurifil and Gutermann.
If you have a local quilt shop or independent sewing supplies store near you, ask them for a recommendation. If shopping online, check out Wawak’s selection of all-purpose threads for sewing clothing, home decor and bags. And if you’re making quilts, pick up some Aurifil 100% cotton thread, which you can find at Fat Quarter Shop.
Don’t forget to put the same type of thread in the bobbin that’s on the spool.
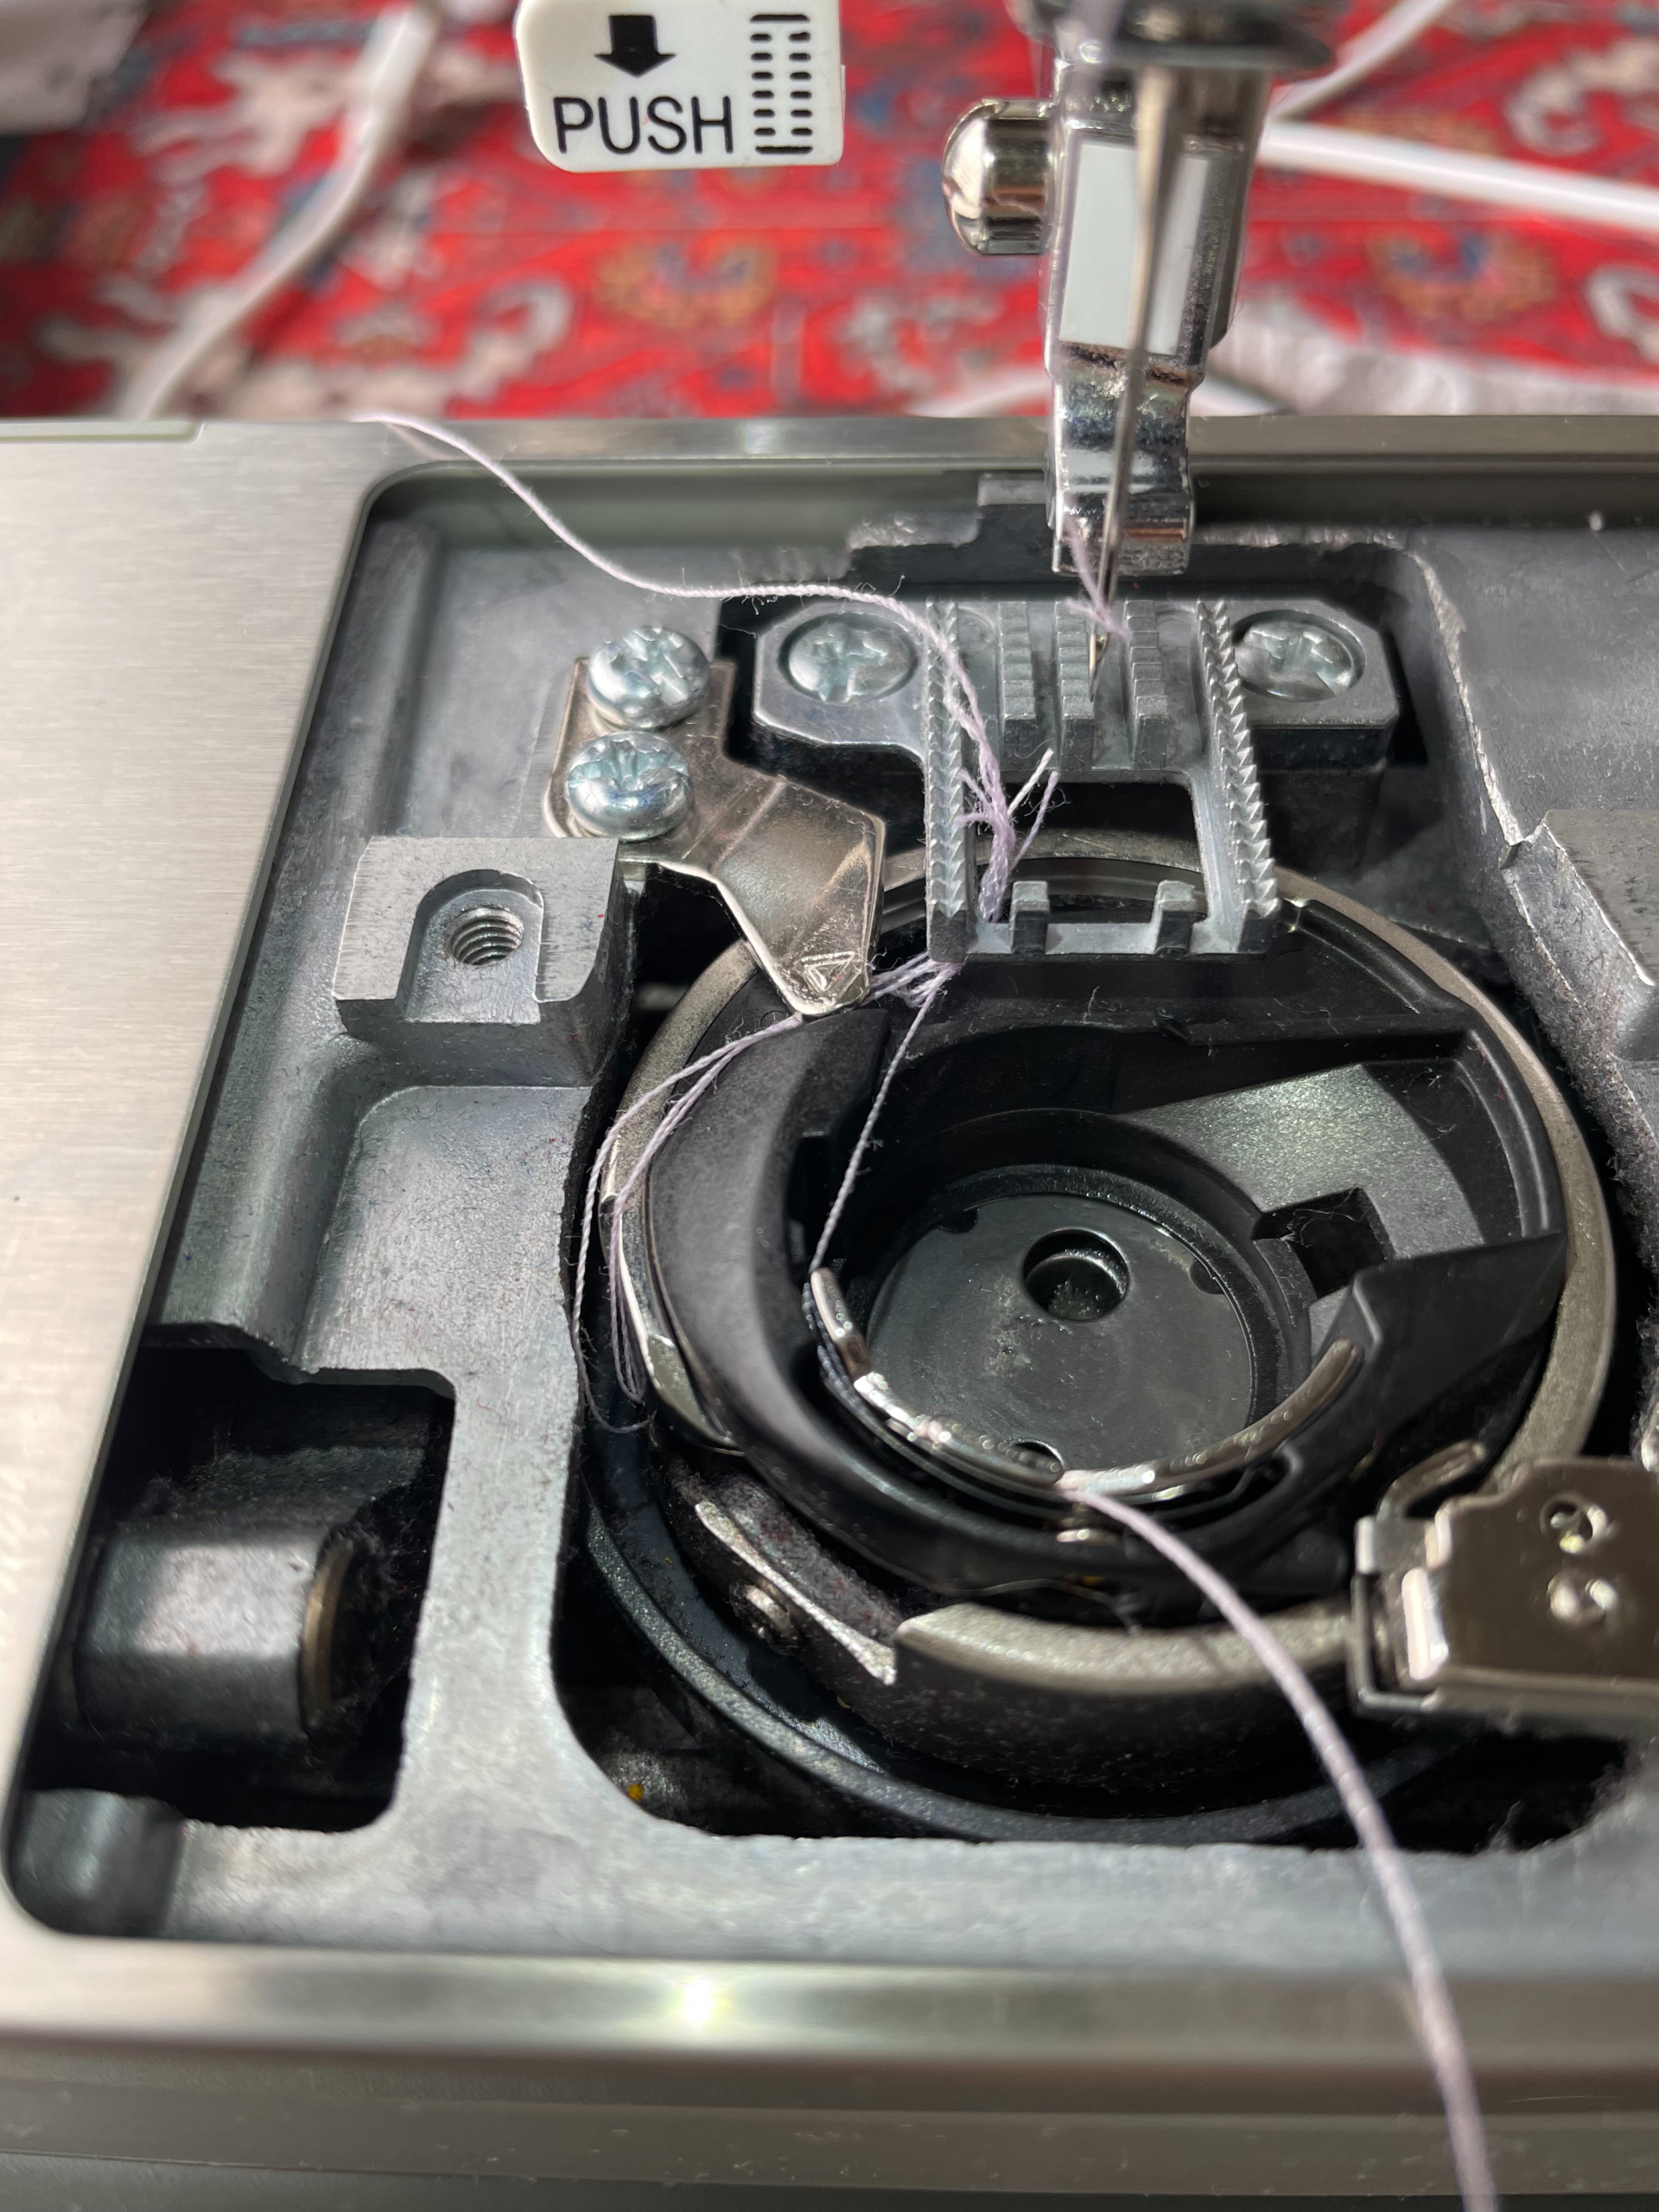
Clean Under the Bobbin

The third step is to clean under the bobbin. Lint gathering in the bobbin area can cause skipped stitches and other issues. It only takes a few minutes to clean, and you should really make it a regular habit to do this as an at-home service to keep your machine running.
All you need is a small flathead screwdriver, a small brush (you might have these with your machine already!), or a few q-tips and a small rag or paper towel.
There is a wide range of sewing machine types, and they vary a lot in the style of bobbin and needle plate, so no set of simple instructions I give here could ever cover all the possibilities. I would look in your sewing machine manual or search in YouTube with the name of your machine to find instructions for cleaning the bobbin area. This video shows the general idea for modern drop-in bobbin machines. Here’s a short one, and a longer video from Rob (below) that’s super instructive.
You might also take this time to add a few drops of oil to the bobbin area, if your machine requires that. Again, take a look at your sewing machine manual to see what’s recommended.
After putting the bobbin back in and replacing the items you removed for cleaning, you can plug in your machine. Hopefully, taking the steps above has resolved your issue.
Happy sewing!